
If you’ve recently inherited your organization’s time and attendance responsibilities, it can certainly seem daunting when employees and managers barrage you with Workday® Absence Requests.
Fear not, faithful admin – our simple guide will teach you all the basics of how to manage Time Off and Leave in Workday. Like time tracking, we can enter and request time for workers on their behalf, as well as input leaves of absence for longer-term situations.
Entering Workday Time Off
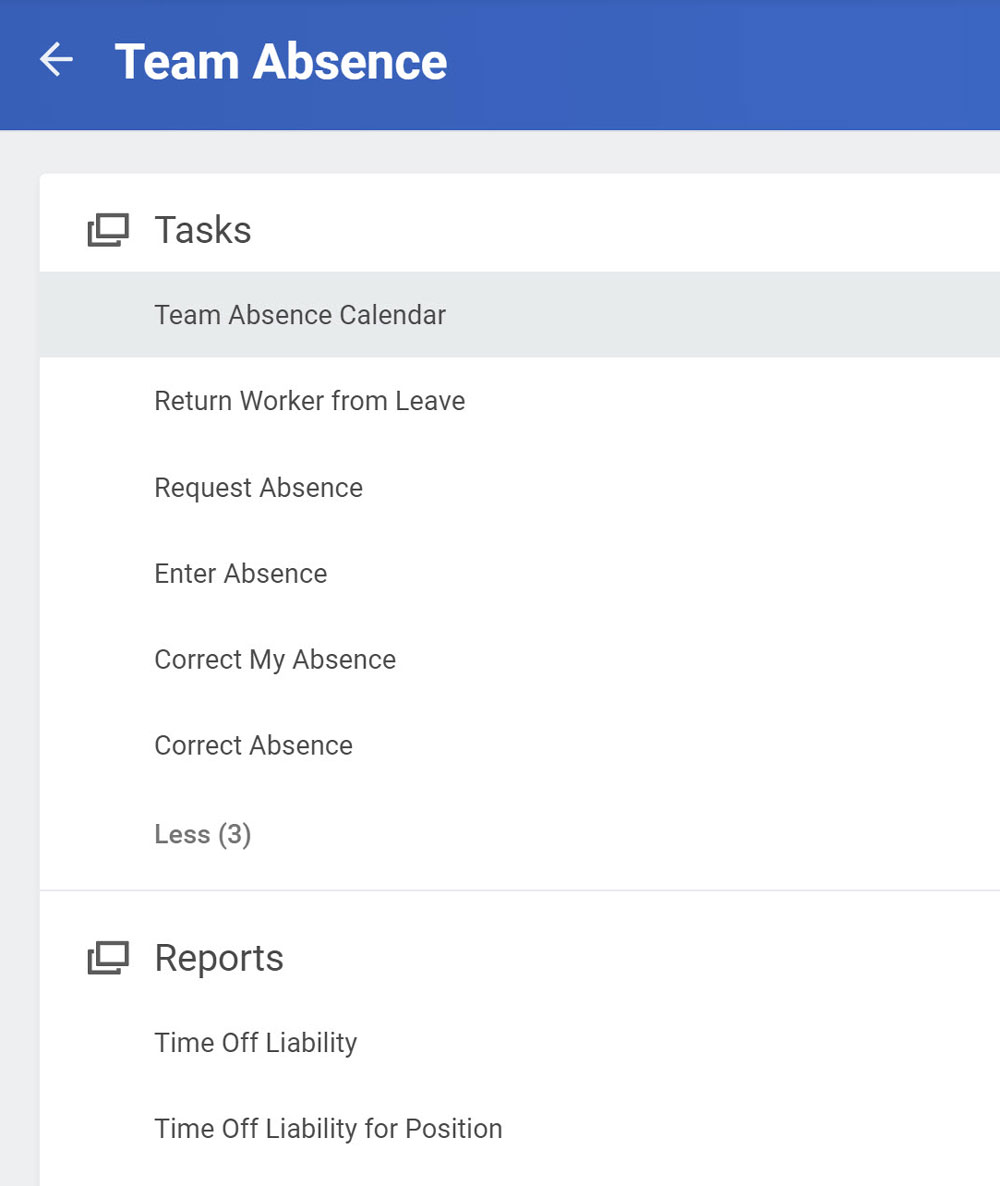
Let’s say a worker has a bunch of hours worked & needs to have Vacation or Sick time put in for them. You can follow these simple steps to make it happen! First, you’ll want to either navigate to the “Team Absence” Worklet, or type in “Enter Time Off” (or “Enter Absence” if you’re using the unified Workday Absence Calendar).
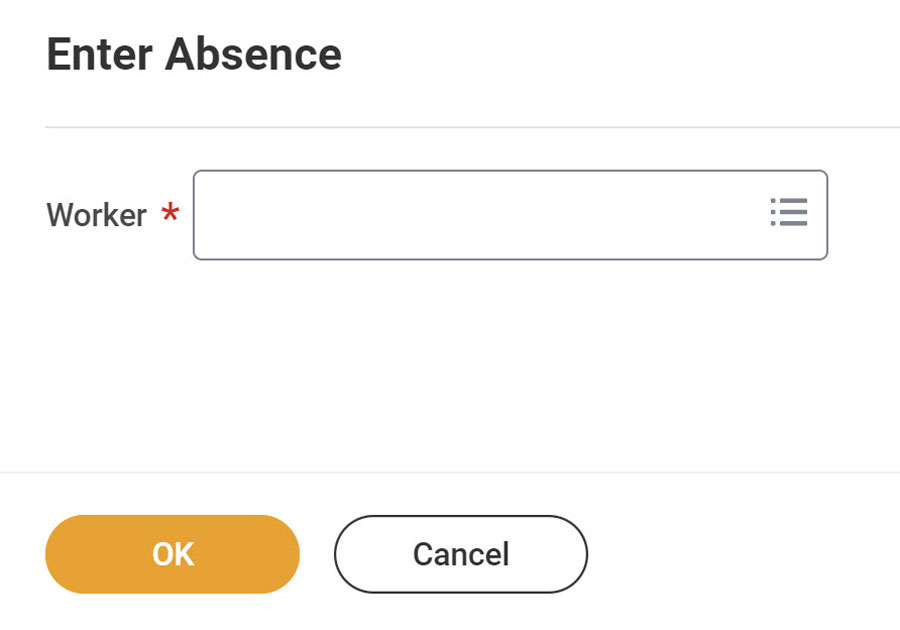
Then, select the worker that’s taking time off:
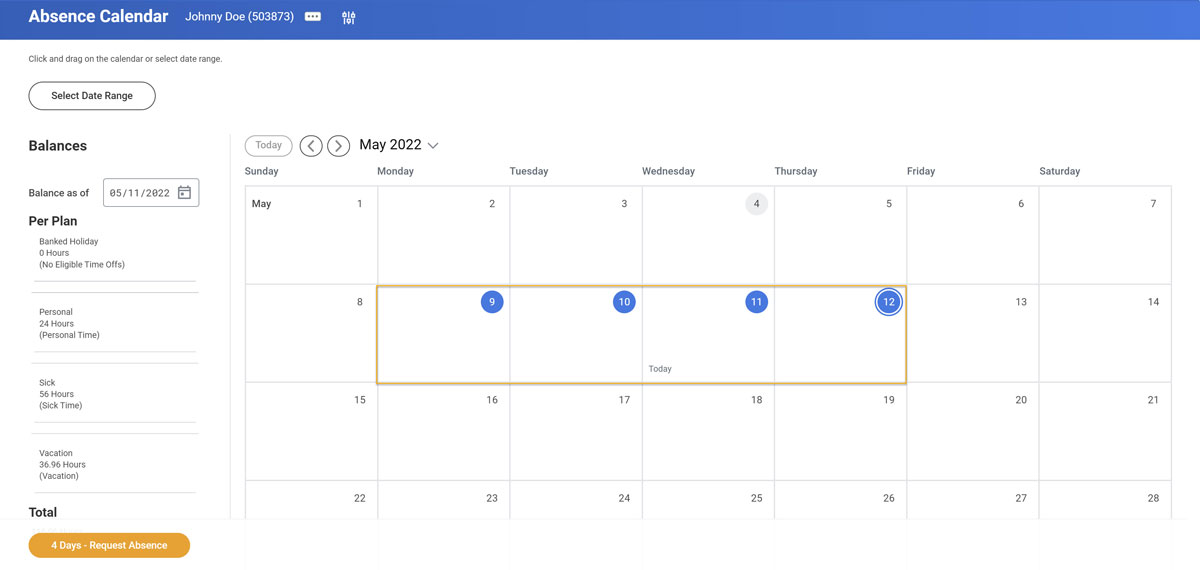
Within the Time Off/Absence Calendar, choose the days the worker is taking off. Then select “Request Time Off” or “Request Absence”:
Now select the type of Time Off the worker is taking (Sick, Vacation, etc). Make sure the dates, Time Off Type, and Quantity per Day are correct. Press Submit & you’re good to go!
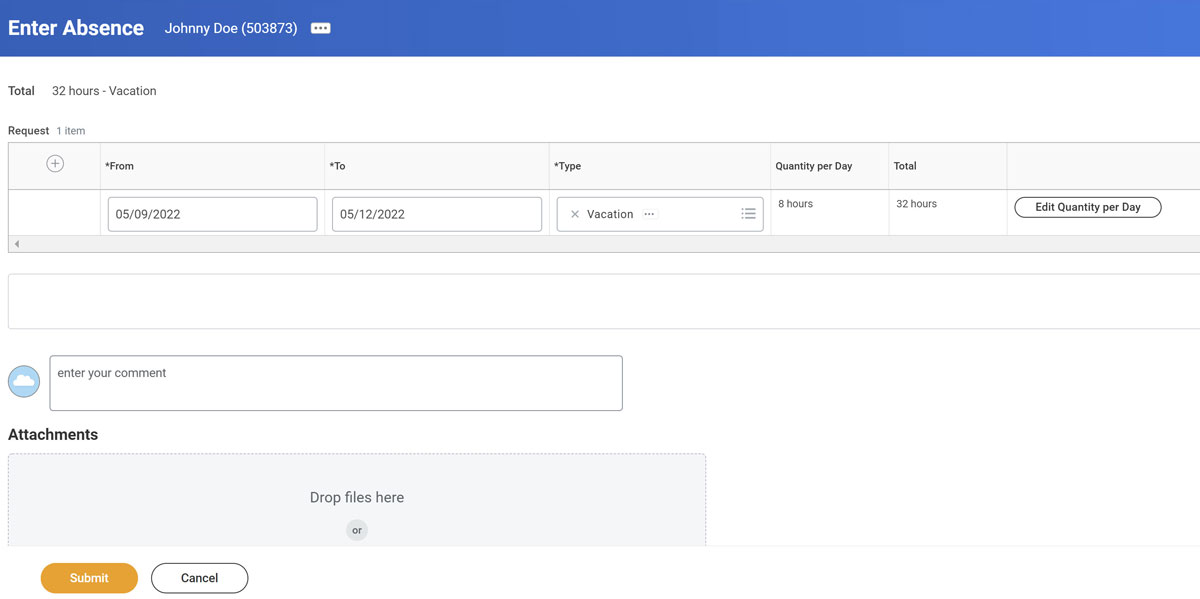
If you’re an admin or manager, and your business processes are set up to be optimized for this process, entering this Workday Time Off on behalf of the worker should bypass approvals and be ready to be paid.
Correcting Workday Time Off
It happens all the time – someone accidentally took vacation time when they meant to take sick time, or maybe they worked on their PTO and want to rescind that request. No worries, correcting Time Off requests after they’ve already been approved is super simple and is quite similar to the process for entering Time Off for a worker.
Admins can do this by navigating to the “Team Absence” worklet, or by typing in “Correct Time Off” or “Correct Absence.”
Now select the worker you’re correcting Time Off for. Click on the Time Off Request within the calendar. It should appear as either a green block if it’s already been approved or a gray block if it’s still pending approval.
You can now correct the Daily Quantity, number of days requested, dates requested, or even the Time Off Type. Once you’ve made your selections, go ahead and press Submit.

Putting or Placing a Worker on a Workday Leave of Absence
If a worker needs to take a longer-term absence in Workday, like Short Term Disability, Long Term Disability, or FMLA, we can place them on a Leave of Absence. Oftentimes, workers will need to take these leaves with little notice, so the task falls upon the administrative team to put these into Workday after the fact.
Absence Administrators or Absence Partners can begin this process by going to the “Team Absence” worklet or typing in “Enter Absence” or “Place Worker on Leave.” Next, you’ll want to select the worker that is going out on leave.
Regardless of whether you’re using the unified Absence Calendar, Workday will direct you to a monthly calendar to select a number of days for the Leave of Absence. You can also select a date range as well for quicker results.
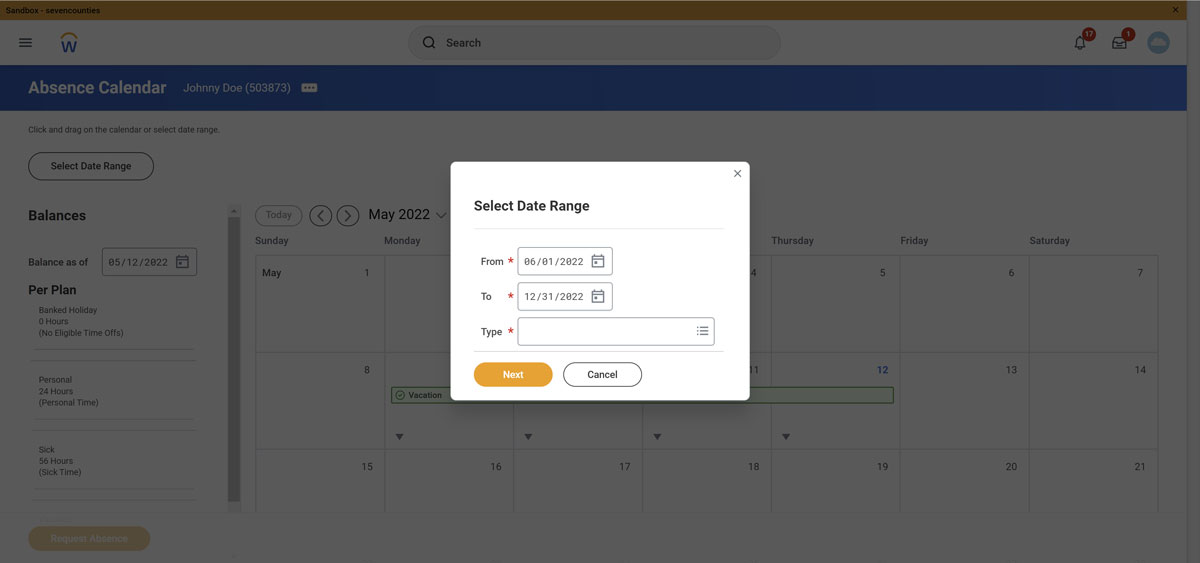
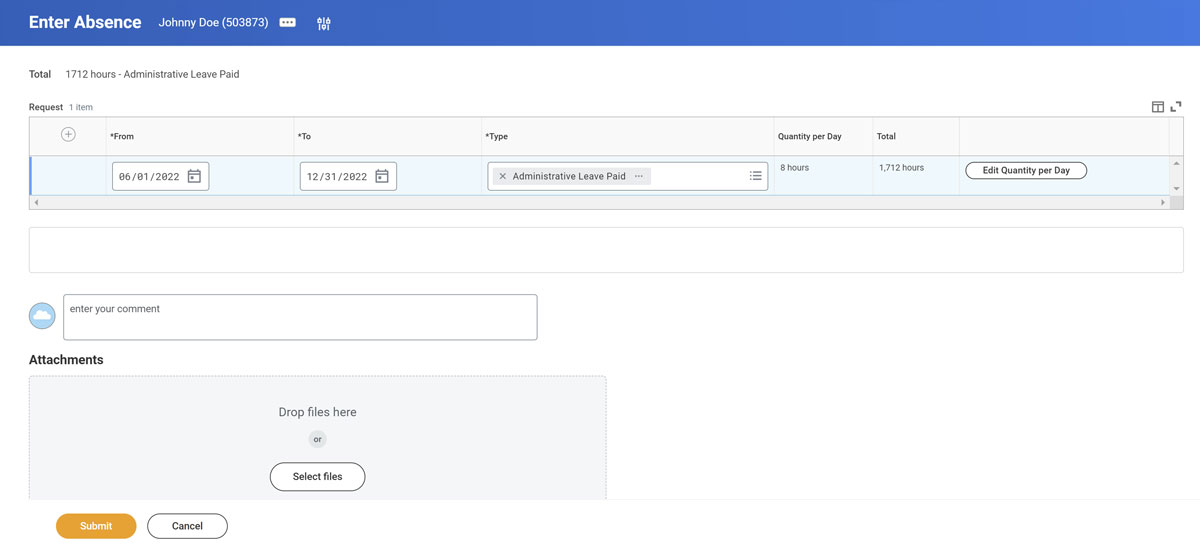
From here, you can select the Leave of Absence Type the worker is taking. You’ll also want to ensure the dates, Leave Reason (if applicable), and Leave Type are correct. If so, go ahead and press submit! The worker will now display a leave status in Workday.
Returning a Worker from a Leave of Absence
Unlike Time Off, workers do not automatically come back from their Leaves of Absence when they reach their estimated last day of leave. Because of unknown or unforeseen circumstances, leaves oftentimes do not end when they were estimated to. For this reason, Workday makes us actually go through a separate business process to bring an employee who’s been out on leave back to work. This is called the “Return from Leave of Absence” process.
To do this in Workday, search “Return Worker from Leave.” You’ll need to enter and verify the worker’s actual last day of leave and their first day back at work. Once this is complete, you can press submit & the worker will once again be active in Workday and no longer show an “on leave” status on their worker profile.
Checking the Status of a Leave of Absence
While a worker is out on a Leave of Absence, their information is still super accessible. We can even see who approved the leave, when it was approved, and any other relevant information in Workday’s helpful delivered reports.
To see the status of a leave request, you can navigate to the worker’s profile & search their worker history to find the leave request event. Conversely, you can also check their Time Off Tab to see all of the leaves & dates for each leave request.
You also have the option of going to the Absence Calendar or the Time Off Calendar to find the leave event displayed in tandem with a convenient monthly calendar. This will also show Time Off Requests in the time period, making it intuitive for seeing every type of absence a worker is taking month to month.
In this calendar view, you can click on the actual leave event and check out the details section. From here, you can select the Absence Event to see the details of the request, and the process steps that were taken to input and approve the leave.
If you’d like to see a comprehensive view of the current leaves of absence in your organization, Workday has many helpful reports to guide you towards the information you’re looking for. A few of these are:
- Workers on Leave – Shows the first day of leave, type of leave, entitlement for the leave, and estimated/actual last days of leave for all workers currently on leave.
- Leave Results for Organization/Leave Results for Worker – Displays historical leave results for individual workers as well as groups of specific organizations if selected.
- Workers Returning from Leave – Pulls in workers that are about to return to work based on their estimated or actual last days of leave.